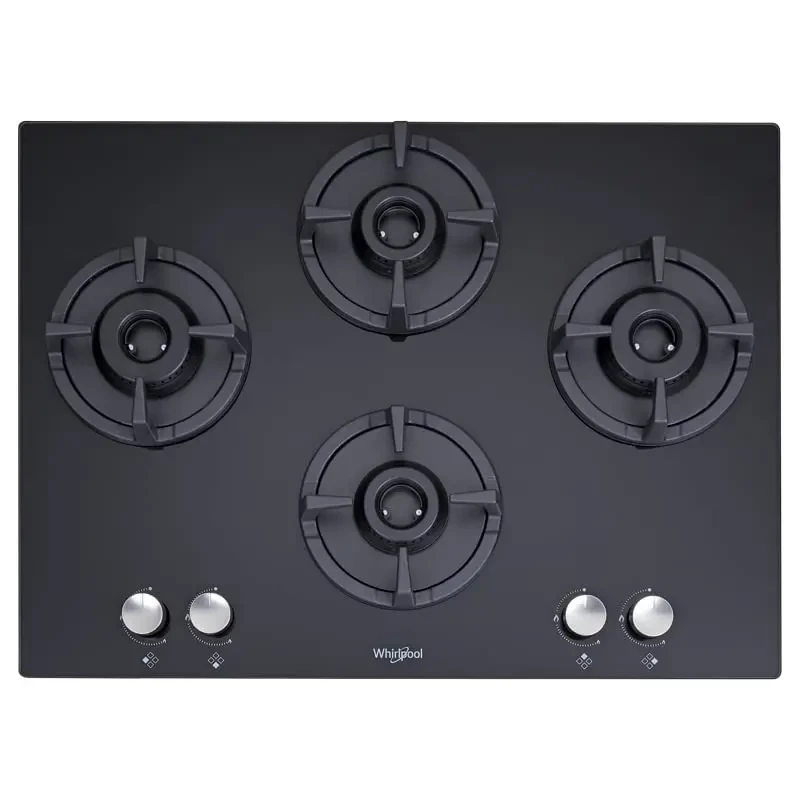


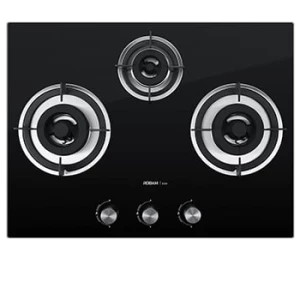
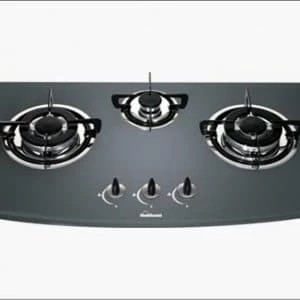
Whirlpool Hob 3 Burner Auto Ignition Gas Stove (Elite HD 703 Brass Gas Hob)


|
Burner Type:
Durability and performance depends upon its material quality
read more
|
|
|
Ignition:
Just by rotating the knob or pushing the button.
read more
|
|
|
Installation:
Very important to read before you install
read more
|
|
|
Nozzle position:
or ask the designer which side the pipe is coming from
read more
|
|
|
Cooktop Material:
You might not know this much variety in material and how does it matter?
read more
|
|
|
No of Burners:
Spacing between the burners and total width is a concern while size of family is also a deciding factor
read more
|
|
|
Product Warranty (years):
read every word of warranty terms literally
read more
|
|
|
Installation Type:
|
|
|
Gas Stove Features:
otherwise risky thing made easy with premium features
read more
|
|
|
Pipeline Gas Support:
Mostly you need an additional converter for additional charge but there may be some just not compatible
read more
|
|
|
Control Type:
know the difference.
read more
|
|
|
Knob Placement:
|
|
About Product:
- High Efficiency Multi-ring Burner: The intellicook brass burner hobs offer high efficiency flame levels best suited for Indian cooking needs with high flame and sim options.
- Heat Resistant Knobs: The knobs are made heat resistant for a longer cooking durations unique to Indian cooking.
- Lifetime Warranty: Whirlpool offers 10 years warranty on toughened glass and 5 years on brass burners and gas valves covering the lifetime of the appliance.
- Cook to perfection: Enjoy your favorite meals in no time with this versatile appliance. Made of durable materials and packed with excellent features, this cooking device will make your life worthwhile.
Dimensions
| Length: | Width: | Height: | |
| Product: | |||
| Package: |
Legal Metrology
| Part/ Model Number: | |||
| Country Of Origin: | |||
| Manufacturer: | |||
| Importer Contact Information: | |||
| Included Components: | |||
Toll Free Number: +919667427788
Installation Process:-
Installation Process for Whirlpool Kitchen Chimney
1. Call Whirlpool customer support at +91 9667427788 to schedule an installation appointment for your kitchen chimney.
2. Provide your personal information, including name, address, and contact number, to the customer support representative.
3. Inform the representative about the model and size of your kitchen chimney.
4. The representative will provide you with a service request number for your installation appointment.
5. Save the service request number for future reference.
6. On the day of your scheduled appointment, make sure to have all the necessary tools and equipment ready for the installation process.
7. Clear the area where the kitchen chimney will be installed to ensure a smooth and safe installation.
8. The installation technician will arrive at the scheduled time and will begin the installation process.
9. The technician will first inspect the area and make sure that all the necessary connections are in place.
10. The technician will then install the mounting brackets and secure them to the wall.
11. Next, the technician will attach the chimney hood to the mounting brackets and make sure it is properly secured.
12. The technician will then connect the ductwork and electrical wiring to the kitchen chimney.
13. Once everything is properly connected, the technician will test the kitchen chimney to ensure it is functioning correctly.
14. The technician will provide you with a demonstration of how to use and maintain your kitchen chimney.
15. After the installation is complete, the technician will clean up the work area and dispose of any packaging materials.
16. You will be asked to sign a completion form to confirm that the installation was successful.
17. Congratulations, your Whirlpool kitchen chimney is now installed and ready to use!
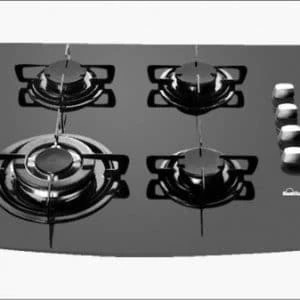
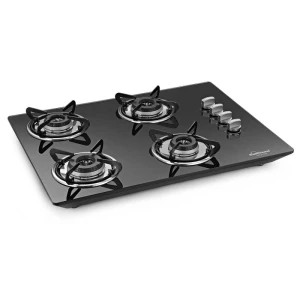
Related products


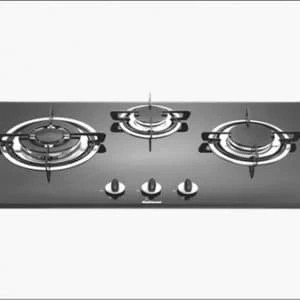
Elica Hob 4 Burner Auto Glass Top - 3 Mini Triple Ring Brass Burner and 1 Double Ring Brass Gas Stove (Flexi AB HCT 460)

Post Query/ Review/ Request (Rs. 50 Reward)
Product Queries (0)
There are no queries.
Available in Renewed Condition (0)
There are no products.
Contact Info
- Address: 1, 12 Biswa, Near Akash Public School, Gurgaon Village
- Phone: +919711995959 , +918930313030
- Email: [email protected]
Other Policies
Be A Seller
Apply Now

Media Coverage


Top Marketplace Seller
- Presence on all Top marketplaces from 8 years, Offering thousands of products
- Delivered 1 lac+ Order across India


Return/ Replacement
While less than 1% of our customers need any such policy but always Feel Secure with our 4D return/ replacement policy

Rewards
₹ 1500When & How?
Once order for this product is delivered, it will be marked as completed and you will get this value in wallet which you can use for future purchases or Free Products

Rewards
₹ 50 for Review/ QuestionWhat for?
We not only answer your questions but also reward for asking it( or if you share a product exeprience in form of review). You end up getting your answers as well as you keep on getting more discount with each contribution in form of question or review

Selling Used Product?
Get Resale/ Exchange OffersHow does it work?
If you are looking to replace any of product you are using, you may submit it to us to get an estimate of how much exchange value will you get, apart from this it will be displayed to all of our customers for buying from any city. when a buyer or our team is ready with an offer, you will be intimated immediately

Buying more products?
Save more on CombosHow does this work?
When you buy more than one products we provide unmatchable offer. Submit your requirements and if any exising offers you have and we will surely give you better than what you have:

Exclusive Plan
The Best Price you can get anywhere.How does it work?
We understand, several projects need regular and bulk purchasess from different categories, different brands, different cities. We are saving all the hassle and communication time for you by making it easy, when you get access to our tool, you can see all our sourcing prices directly with a small search
For Designers
For Architects
For Builders
For Corporates

