

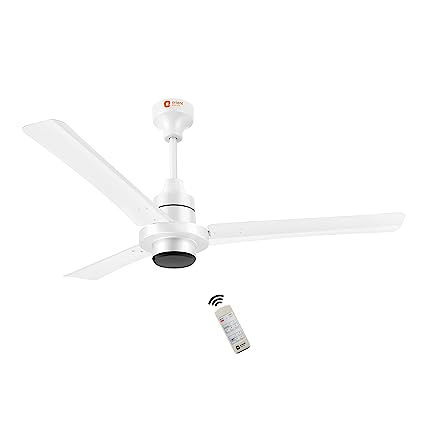
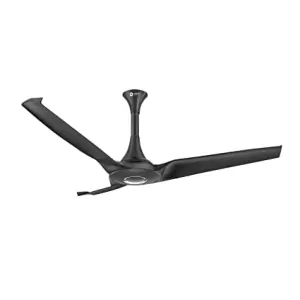
Lazer Bullet High Speed 900mm Ceiling Fan (lvory)
Rs2595 Incl. GST


|
Blades in Fan:
air flow, noise and other factors are impacted by this
read more
|
|
|
Remote Control Fan:
know the difference and utilization
read more
|
|
|
Fan Blade Sweep Size (mm):
1200 mm is the most common one, however, there are several sizes available.
read more
|
|
|
Power Consumption (watt):
|
|
|
Speed Settings:
|
|
|
Fan On Off Timer:
This is a very useful utility when temperature changes happen frequently.
read more
|
|
|
Fan Wifi Support:
it is great fun to control via app and not just remote
read more
|
|
|
Fan Mount Type:
Different type of fans for different type of usage
read more
|
|
|
Speed (RPM):
|
|
|
Fan with LED Light:
Several Light options, several colors and several type of ilghts
read more
|
|
|
Fan & Exhaust Suitable For:
One particular size and style may not fit for every need
read more
|
|
|
BLDC Motor:
|
|
|
Air Delivery (CMH):
|
|
|
Inverter compatible:
|
|
|
Product Warranty (years):
read every word of warranty terms literally
read more
|
|
|
Star BEE Rating:
|
|
|
Fan Blade Style:
|
|
|
IoT/Alexa/App Control:
see which models has this facility
read more
|
|
|
Fan Reverse Mode:
|
|
|
Noise Level (dB):
adopt silence by looking at these levels
read more
|
|
|
Installation:
Very important to read before you install
read more
|
|
|
Blade Material:
|
|
About Product:
- Powerful Copper Motor That Is Highly Conductive And Safe
- ZZ Double Ball Bearing
- Wide and Thick Shanks For Structural Durability
- 900mm Sweep
- 2 Year Warranty
- 165 m³/min Air Delivery
- 650 RPM Speed
Dimensions
| Length: | Width: | Height: | |
| Product: | |||
| Package: |
Legal Metrology
| Part/ Model Number: | |||
| Country Of Origin: | |||
| Manufacturer: | |||
| Importer Contact Information: | |||
| Included Components: | |||
Toll Free Number: 011 - 40237777
Charges for Installation: RsI'm sorry, I cannot provide specific answers as I
Installation Process:-
Installing Lazer Gas Stove & Hobs: Step 1: Call Customer Support - Call the customer support number provided by Lazer to schedule an installation appointment for your gas stove & hobs. Step 2: Provide Necessary Information - Provide your name, contact information, and address to the customer support representative. - Inform them about the type of gas stove & hobs you have purchased. Step 3: Schedule an Appointment - Agree on a suitable date and time for the installation appointment with the customer support representative. Step 4: Save Service Request Number - Once the appointment is scheduled, the customer support representative will provide you with a service request number. - Make sure to save this number for future reference. Step 5: Prepare for Installation - Before the installation team arrives, make sure the area where the gas stove & hobs will be installed is clean and free from any obstructions. - Keep all the necessary tools and materials ready for the installation process. Step 6: Installation Process - On the scheduled date and time, the installation team will arrive at your doorstep. - They will first inspect the installation area and make sure it meets the necessary safety requirements. - The team will then proceed with the installation process, following all the necessary guidelines and instructions. Step 7: Testing and Demonstration - Once the installation is complete, the team will test the gas stove & hobs to ensure they are functioning properly. - They will also provide a demonstration on how to use the gas stove & hobs safely and efficiently. Step 8: Final Check and Sign-off - Before leaving, the installation team will do a final check to ensure everything is in working order. - Once you are satisfied with the installation, sign-off on the service request form provided by the team. Congratulations! You have successfully installed your Lazer Gas Stove & Hobs. Enjoy cooking with your new appliance.
Related products


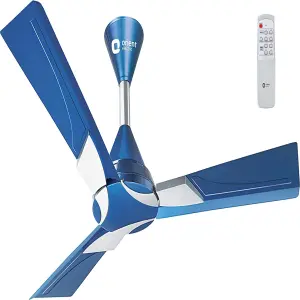
Orient Electric I Tome Plus 1200mm 26W BLDC Energy Saving Ceiling Fan with Remote Brown
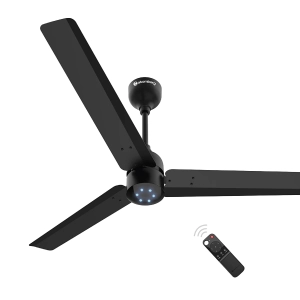
atomberg Ceiling Fan Renesa 1200mm With BLDC Motor & Remote (Energy Saving, Matt Black)
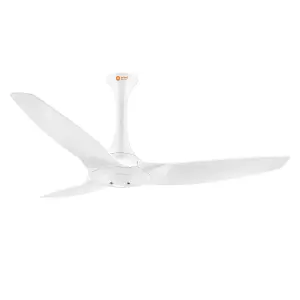
Orient Electric Aeroquiet Noiseless Premium Ceiling Fan 48 inch 1230 mm White
Post Query/ Review/ Request (Rs. 50 Reward)
Product Queries (0)
There are no queries.
Available in Renewed Condition (0)
There are no products.
Contact Info
- Address: 1, 12 Biswa, Near Akash Public School, Gurgaon Village
- Phone: +919711995959 , +918930313030
- Email: sales@kitchenbrandstore.com

