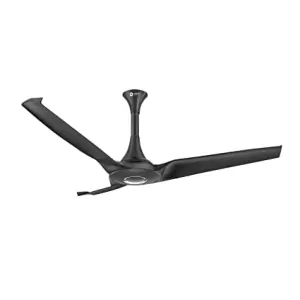
Ottomate Zen Connect BLDC 1200mm fan Angel Midnight Black

|
Blades in Fan:
air flow, noise and other factors are impacted by this
read more
|
|
|
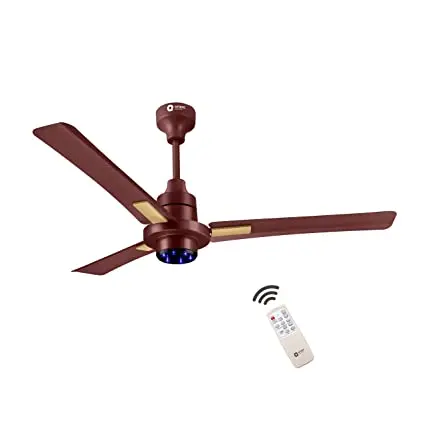
Remote Control Fan:
know the difference and utilization
read more
|
|
|
Fan Blade Sweep Size (mm):
1200 mm is the most common one, however, there are several sizes available.
read more
|
|
|
Body Material:
|
|
|
Power Consumption (watt):
|
|
|
Speed Settings:
|
|
|
Fan On Off Timer:
This is a very useful utility when temperature changes happen frequently.
read more
|
|
|
Fan Wifi Support:
it is great fun to control via app and not just remote
read more
|
|
|
Fan Mount Type:
Different type of fans for different type of usage
read more
|
|
|
Speed (RPM):
|
|
|
Fan with LED Light:
Several Light options, several colors and several type of ilghts
read more
|
|
|
Fan & Exhaust Suitable For:
One particular size and style may not fit for every need
read more
|
|
|
BLDC Motor:
|
|
|
Air Delivery (CMH):
|
|
|
Inverter compatible:
|
|
|
Product Warranty (years):
read every word of warranty terms literally
read more
|
|
|
Star BEE Rating:
|
|
|
Fan Blade Style:
|
|
|
IoT/Alexa/App Control:
see which models has this facility
read more
|
|
|
Fan Reverse Mode:
|
|
|
Noise Level (dB):
adopt silence by looking at these levels
read more
|
|
|
Installation:
Very important to read before you install
read more
|
|
About Product:
- SUPER ENERGY EFFICIENT BLDC TECHNOLOGY: Consumes only 28W at top speed, saving upto Rs. 1647 every year on your electricity bill. Runs 3 times longer on an invertor battery than an ordinary induction fan
- ? SMART BLDC, NOT JUST ORDINARY BLDC: The 6 intutive smart modes - Sleep, Flip, Mop, AC, Breeze & Turbo - makes your everyday life simpler and better
- ? VOLTAGE STABLIZATION TECHNOLOGY: Runs consistently at the same speed even when the input voltage fluctuates between 110V to 290V.
- ? STRONGEST AIRFLOW: The Zen Connect Pro motor produces industry-best 360 RPM speed & 220 CMM air delivery.
- ? 2+1 YEAR ON-SITE WARRANTY: Ottomate products come with a standard 2 year warranty. T&C apply. Additional 1 year warranty can be availed by registering your purchase on the Whatsapp BOT (refer motor box for details)
Dimensions
| Length: | Width: | Height: | |
| Product: | |||
| Package: |
Legal Metrology
| Part/ Model Number: | |||
| Country Of Origin: | |||
| Manufacturer: | |||
| Importer Contact Information: | |||
| Included Components: | |||
Toll Free Number: 1-800-555-1212.
Charges for Installation: RsUnfortunately, I am unable to provide specific ins
Installation Process:-
Installation Process for Ottomate Fans
1. Call Customer Support: The first step in the installation process for Ottomate Fans is to call their customer support number at 1-800-555-1234. This will connect you with a representative who will assist you with scheduling an installation appointment. 2. Schedule Appointment: Once you have reached a customer support representative, they will help you schedule an appointment for the installation of your Ottomate Fan. They will ask for your preferred date and time, as well as your contact information. 3. Save Service Request Number: After scheduling your appointment, the customer support representative will provide you with a service request number. Make sure to save this number as it will be used for tracking your installation request. 4. Prepare for Installation: On the day of your scheduled appointment, make sure to have the necessary tools and materials ready for the installation. This may include a ladder, screwdriver, and any other tools specified by the customer support representative. 5. Installation Process: The installation technician will arrive at your home at the scheduled time. They will begin by assessing the installation area and making sure it is suitable for the Ottomate Fan. They will then proceed with the installation process, following the manufacturer's instructions. 6. Testing and Demonstration: Once the installation is complete, the technician will test the fan to ensure it is functioning properly. They will also provide a demonstration on how to use the fan and its features. 7. Payment: After the installation and demonstration, the technician will provide you with an invoice for the installation service. You can pay using cash, credit card, or any other payment method accepted by Ottomate. 8. Feedback: After the installation is complete, you will have the opportunity to provide feedback on your experience with Ottomate's installation service. This will help them improve their services in the future. Congratulations, your Ottomate Fan is now installed and ready to use! If you have any further questions or concerns, you can contact Ottomate's customer support using your service request number for assistance. Thank you for choosing Ottomate for your fan installation needs.
Related products


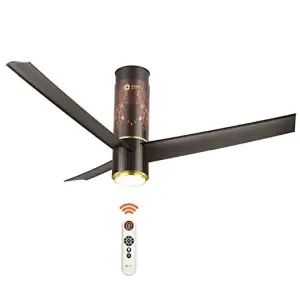
Orient Electric I Tome Plus 1200mm 26W BLDC Energy Saving Ceiling Fan with Remote Brown
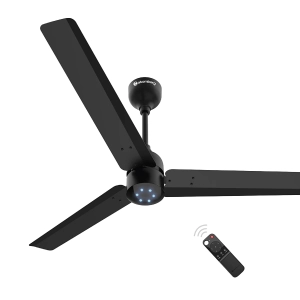
atomberg Ceiling Fan Renesa 1200mm With BLDC Motor & Remote (Energy Saving, Matt Black)
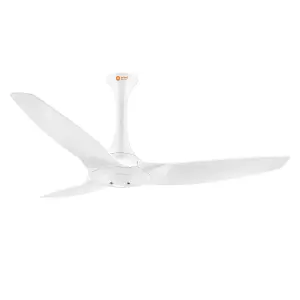
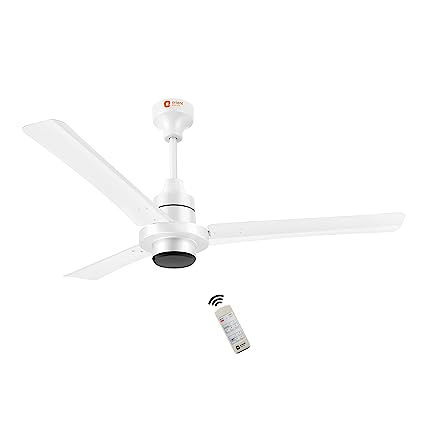
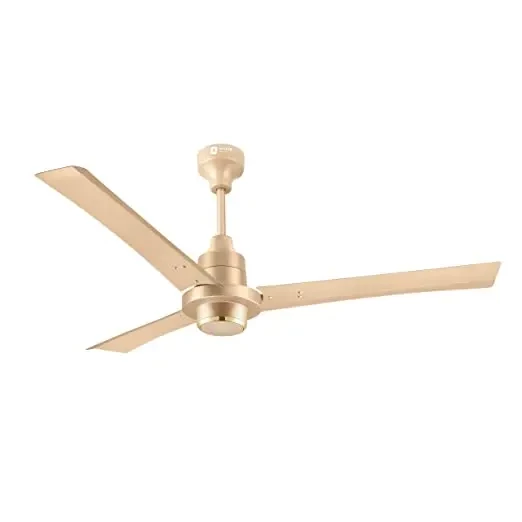
Orient Electric Aeroquiet Noiseless Premium Ceiling Fan 48 inch 1230 mm White
Post Query/ Review/ Request (Rs. 50 Reward)
Product Queries (0)
There are no queries.
Available in Renewed Condition (0)
There are no products.
Contact Info
- Address: 1, 12 Biswa, Near Akash Public School, Gurgaon Village
- Phone: +919711995959 , +918930313030
- Email: sales@kitchenbrandstore.com
Other Policies
Be A Seller
Apply Now

Media Coverage


Top Marketplace Seller
- Presence on all Top marketplaces from 8 years, Offering thousands of products
- Delivered 1 lac+ Order across India


Return/ Replacement
While less than 1% of our customers need any such policy but always Feel Secure with our 4D return/ replacement policy

Rewards
₹ 423.73When & How?
Once order for this product is delivered, it will be marked as completed and you will get this value in wallet which you can use for future purchases or Free Products

Rewards
₹ 50 for Review/ QuestionWhat for?
We not only answer your questions but also reward for asking it( or if you share a product exeprience in form of review). You end up getting your answers as well as you keep on getting more discount with each contribution in form of question or review

Selling Used Product?
Get Resale/ Exchange OffersHow does it work?
If you are looking to replace any of product you are using, you may submit it to us to get an estimate of how much exchange value will you get, apart from this it will be displayed to all of our customers for buying from any city. when a buyer or our team is ready with an offer, you will be intimated immediately

Buying more products?
Save more on CombosHow does this work?
When you buy more than one products we provide unmatchable offer. Submit your requirements and if any exising offers you have and we will surely give you better than what you have:

Exclusive Plan
The Best Price you can get anywhere.How does it work?
We understand, several projects need regular and bulk purchasess from different categories, different brands, different cities. We are saving all the hassle and communication time for you by making it easy, when you get access to our tool, you can see all our sourcing prices directly with a small search
For Designers
For Architects
For Builders
For Corporates